Tuesday, February 18, 2014

I'm so excited!

I'm so excited I can hardly stand it! If you'll excuse me for a brief moment, I think I need to be a little bit un-British for a moment.

One of the reasons for wanting to start my own business was to meet other people who care about what they do, and together to create something positive for others. (I recommend the book Business Model You for its personal mission planning activities for uncovering what really drives you.)

I haven't even properly got going with the business, but it has already been such an amazing ride.

It started slowly, from 2011 when I started writing this blog. People got in touch now and again, people with similar dreams looking for help, people who were enthusiastic about the same things as I am, and other businesses looking to make connections. It's always great to hear from good people.

Then I got to meet the warm and formidable members of the Bramley Apple Fan Club, and through them learn the amazing history of this British fruit and meet not only the people instrumental in bringing the Bramley to Japan (to whom I will be forever grateful!), but also the British family connected to the Bramley's very existence.  

It's all somewhat beginning to snowball as more connections are made, and every week I'm in touch with truly kind and inspirational people and I'm learning so much. The generosity and collaborative spirit is incredible and I frequently catch myself feeling how lucky I have been already.  

I'm now meeting passionate bakers, advocates for real food and for British and Japanese culture, writers, teachers and fellow learners, all with shared enthusiasm for creating something positive. 

I've got such a feeling of excitement, this is going to be great! 

Ahem. Now I can just calm back down a bit. :)

Saturday, February 8, 2014

Oranges project - marmalade, candied slices and caramelised segments

I had a beautiful big bag of oranges and a plan to make candied peel (recipe to follow soon) for hot cross buns coming up in April. This would use just the skins of just 3, and so I looked around for some other exciting things to do with the remaining fruit. The result was a bit of an 'orange project day' in the kitchen, producing marmalade, candied orange peel and slices, and caramelised orange segments. All that hot syrup and bright fruit is the perfect way to warm yourself up on a chilly February day!


Firstly, Lily Vanilli's Sweet Tooth book has a a lovely and simple way to use up the orange segments left over from making candied peel. After removing the segments one by one from the peeled orange, you melt sugar in a pan to make caramel and stop it with juice from the fruit.


Stir in the segments once the caramel is cool. We tried them with yoghurt honey and granola and they were lovely.


Next up was the marmalade. I used Dan Lepard's excellent recipe although my oranges were not the bitter Seville variety called for to make a proper marmalade. I wonder if we can get bitter oranges in Tokyo? Surely we can..!


Soaking the orange slices overnight

This recipe involved soaking the squeezed and sliced oranges in their juice plus water. I was supposed to soak the pips separately in a cup of water, but my oranges had no pips! Or I should say, the pips were so tiny as to be insignificant. Still, there was no problem with the mixture setting at the end and so it didn't appear to be a problem.


Dan has us boiling the slices for 2-3 hours without the sugar until the peels are soft and squishy. Once the sugar (white, and 2 teaspoons of brown sugar) and lemon juice are added, the mixture boils up considerably and the consistency changes from watery to syrupy as the water boils off and the amount of sugar in the mixture is concentrated.


We're supposed to boil the marmalade until it reaches 105C, let it cool slightly and then transfer to sterilised jars. I quite liked this non-bitter orange version of marmalade, there was a little bit of pleasing bitterness to it still, perhaps from the pith. Lovely on toast!


Finally another Vanilli recipe to use up the remainder of the oranges, candied slices. You prepare a simple syrup of water (300ml) and sugar (125g) and boil the fruit in it until they start to become translucent. This took about 1 hour. For French-style fully candied fruit that is hard and has a long shelf-life, you would need to boil them over a number of days to replace all of the water content with super-saturated syrup. These are a little more delicate, still being quite soft, and they would look smashing on chocolate cake or on top of an orange-drizzle cake.


There we go, a a bit of a nose-to-tail day of cooking with oranges, and an awful lot of sugar!

Now I fancy having a go at the hot marmalade pudding from the Hawksmoor cook book, or perhaps this one. Sounds very wintery and special, especially with a boozy sauce.


Wednesday, February 5, 2014

Murasaki imo buttercream birthday cake

I'm currently looking for a space for my business (exciting stuff, what!), but the other day a friend asked me to make a special birthday cake for a friend.

After looking at various chocolate and carrot cake recipes I based the cake on this amazing 3-layered Victoria sponge cake by Peggy Porschen. I didn't want to use food colouring in this cake, and I didn't want to use quite as much buttercream as the original recipe, we also wanted something that looked more contemporary than classic, to match our friend's personality.


The gorgeous purple colour is all from powdered murasaki imo (purple potato) which is often used in confectionery in Japan (it is even a Haagen Daz flavour). I had most if 20g sachet left over from recent macaron experiments and didn't need the full amount. It imparts a very delicate sweet and earthy flavour to the buttercream, very nice. I also liked that you can still see the vanilla seeds in the mixture. 


A handy tip when using real vanilla beans is to rub the beans from the scraped pod into some of the sugar you are using in the recipe, in this case icing sugar in the buttercream, as it will help to avoid too many of the seeds clumping together.

Rubbing vanilla seeds into the sugar

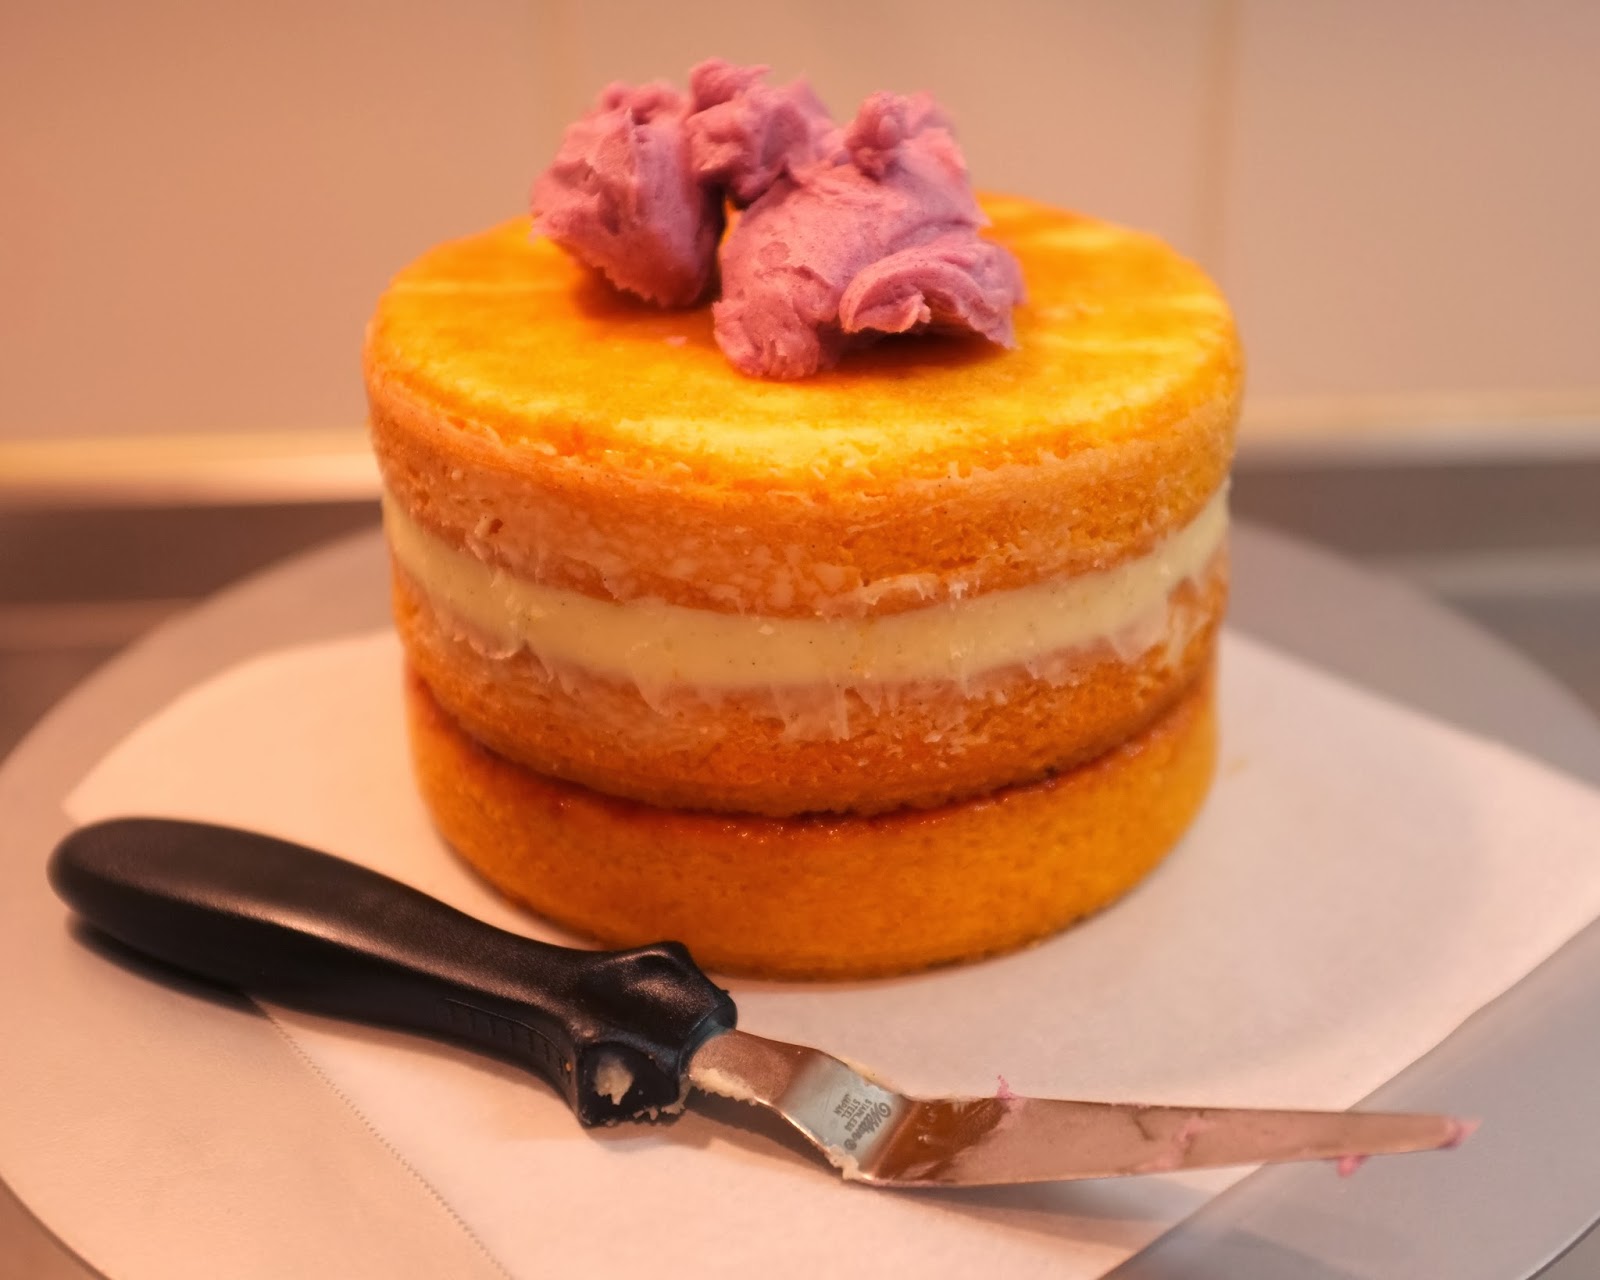
The process of making the cake is very thoroughly explained in the linked-to recipe above. Here are some photos showing the step-by-step process as I took it. First trimming, filling and stacking the sponges. The first layer is spread with raspberry jam and the next with a portion of buttercream I'd kept separate from the murasaki imo powder.


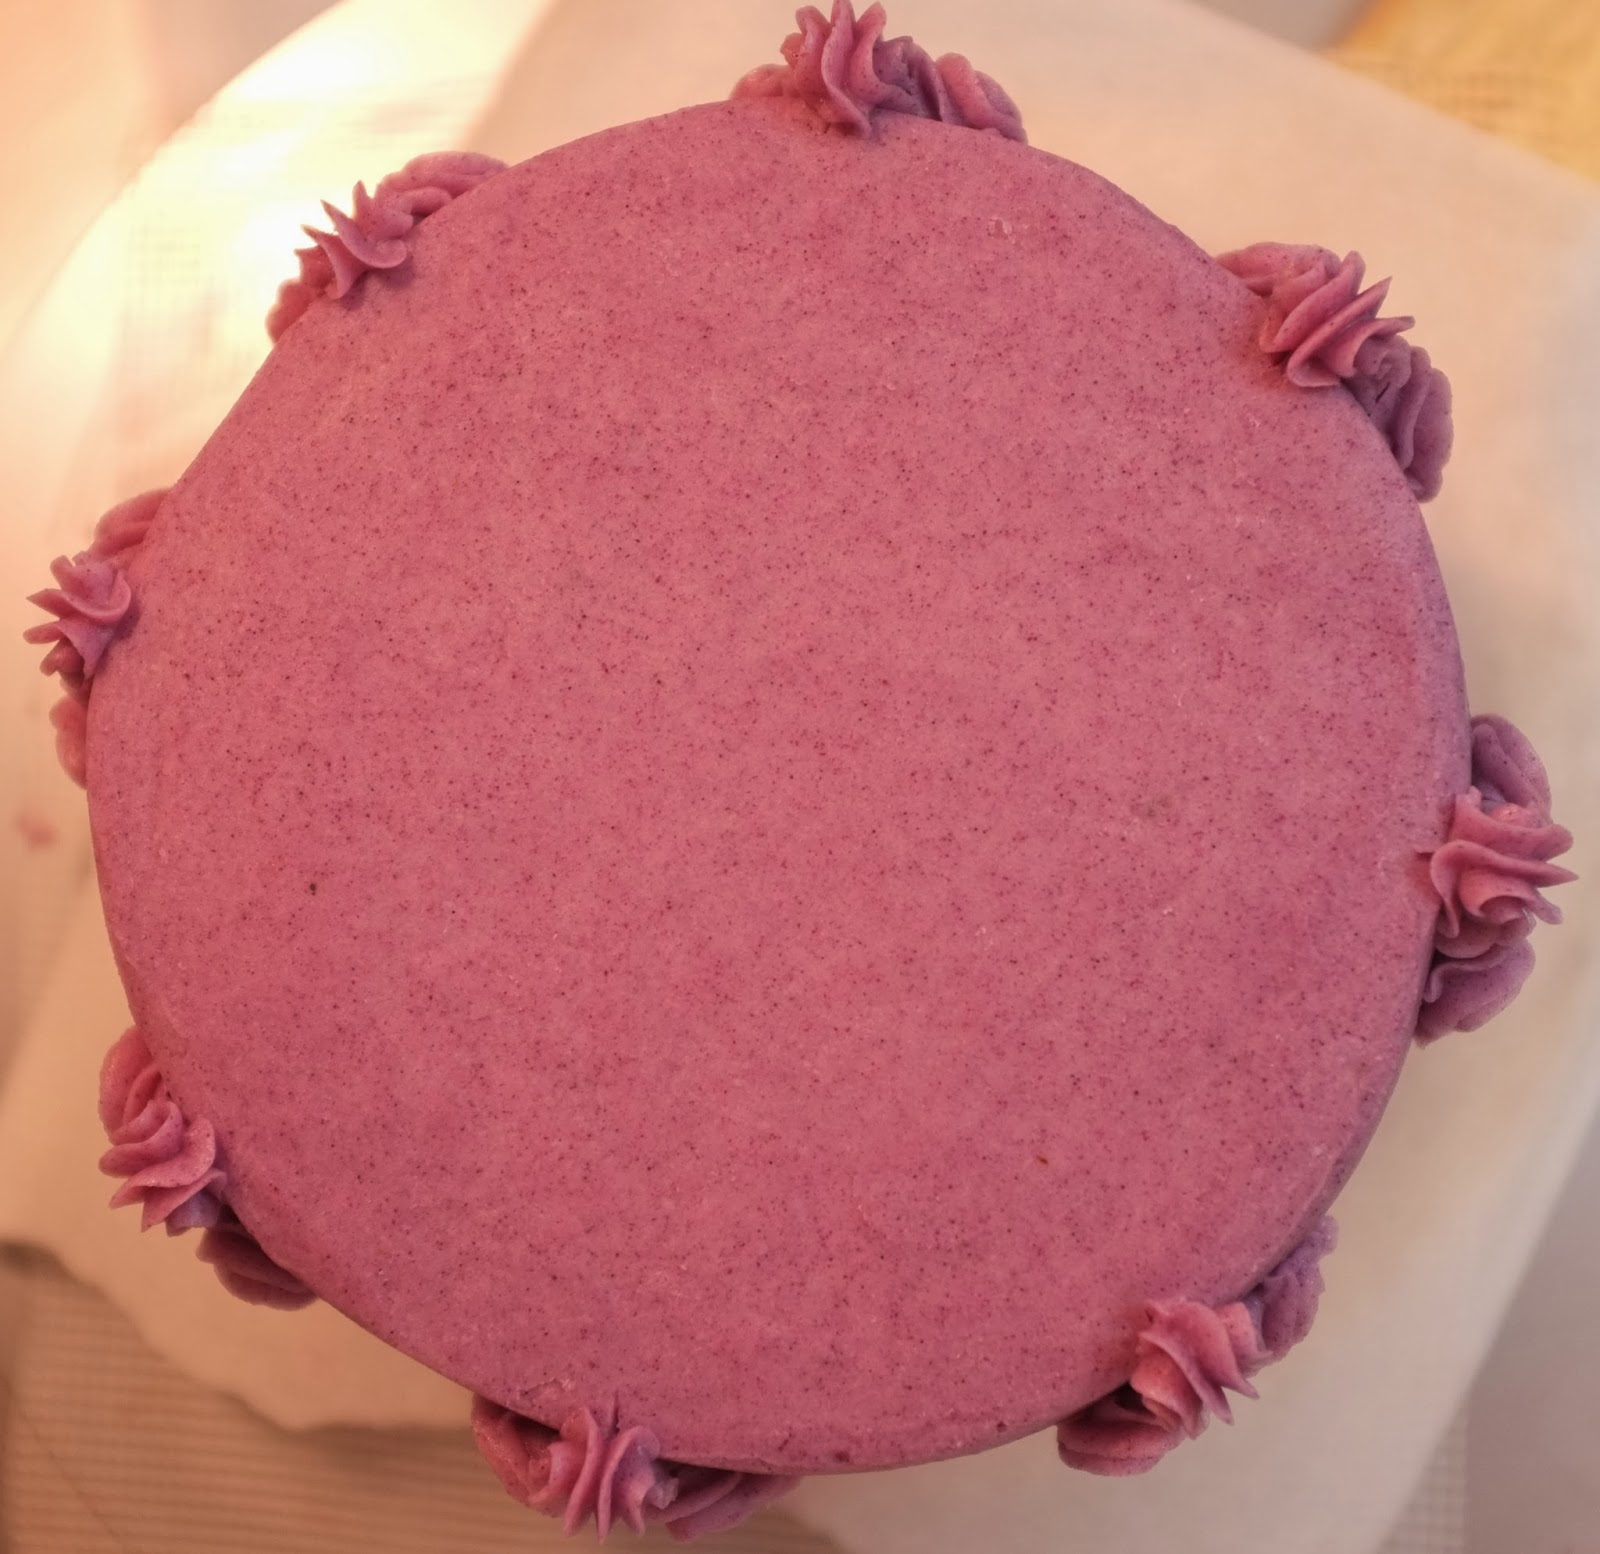
Next came smoothing on a crumb-coat, an undercoat for the buttercream, to help make the final layer as smooth and straight as possible. Once you have the thin crumb-coat on, you chill the cake before applying the next layer.


Crumb coating of buttercream

While the cake was chilling between coats I had a bit of a practice piping the fleurs-de-lis on a dummy cake, but I rather feel that lots of practice is required to get the gracefully-sweeping shells of the original recipe.

Practice, practice...
 
Divide the cake in advance to know where to pipe


To avoid having too much buttercream on the cake, I topped it with a purple anemone (wind flower) I'd made out of gum paste somewhat loosely based on one I'd seen in the supermarket a few days earlier.


Just being the one flower I was able to bend the floral tape-wrapped wires around to make a kind of stand for it to lean on, so we could place it directly on top (usually you would insert a flower spike into the cake itself and put your fresh or sugar flowers into that plastic spike). The gumpaste rested on the buttercream just fine - I had wondered whether the moisture in the frosting would soften the gumpaste, but it held up fine when I tested a batch for 24 hours.


This was quite an extravagant version of a Victoria sponge cake. With the real vanilla, vanilla syrup-soaked sponges, multiple layers and lots of buttercream, it certainly fit the bill for an extra special birthday cake!

Making the vanilla syrup